
Between calibrations: how to self-check your weighbridge for accuracy problems
Before we get into the steps, one thing needs to be said plainly. There’s a real difference between a routine accuracy check you can reasonably do yourself and a full legal calibration that has to be performed and certified by an authorized technician using traceable, certified test weights. If your weighbridge is used for any transaction where payment depends on the reading, the official calibration needs to be done by a certified provider and stamped accordingly — that’s a legal requirement in most jurisdictions, not just a best practice. What follows is genuinely useful for routine self-checks between official calibrations, catching problems early, and understanding what a technician is actually doing when they come out. It’s not a substitute for certified calibration on a trade-legal scale.
I know that distinction can feel frustrating when the scale is reading oddly and you just want an answer. But on a trade-legal scale, skipping it can create a bigger problem than the one you’re trying to solve.
With that said, here’s how a routine accuracy check actually works. Most of it can be done with basic tools, a clean platform, and a little patience.
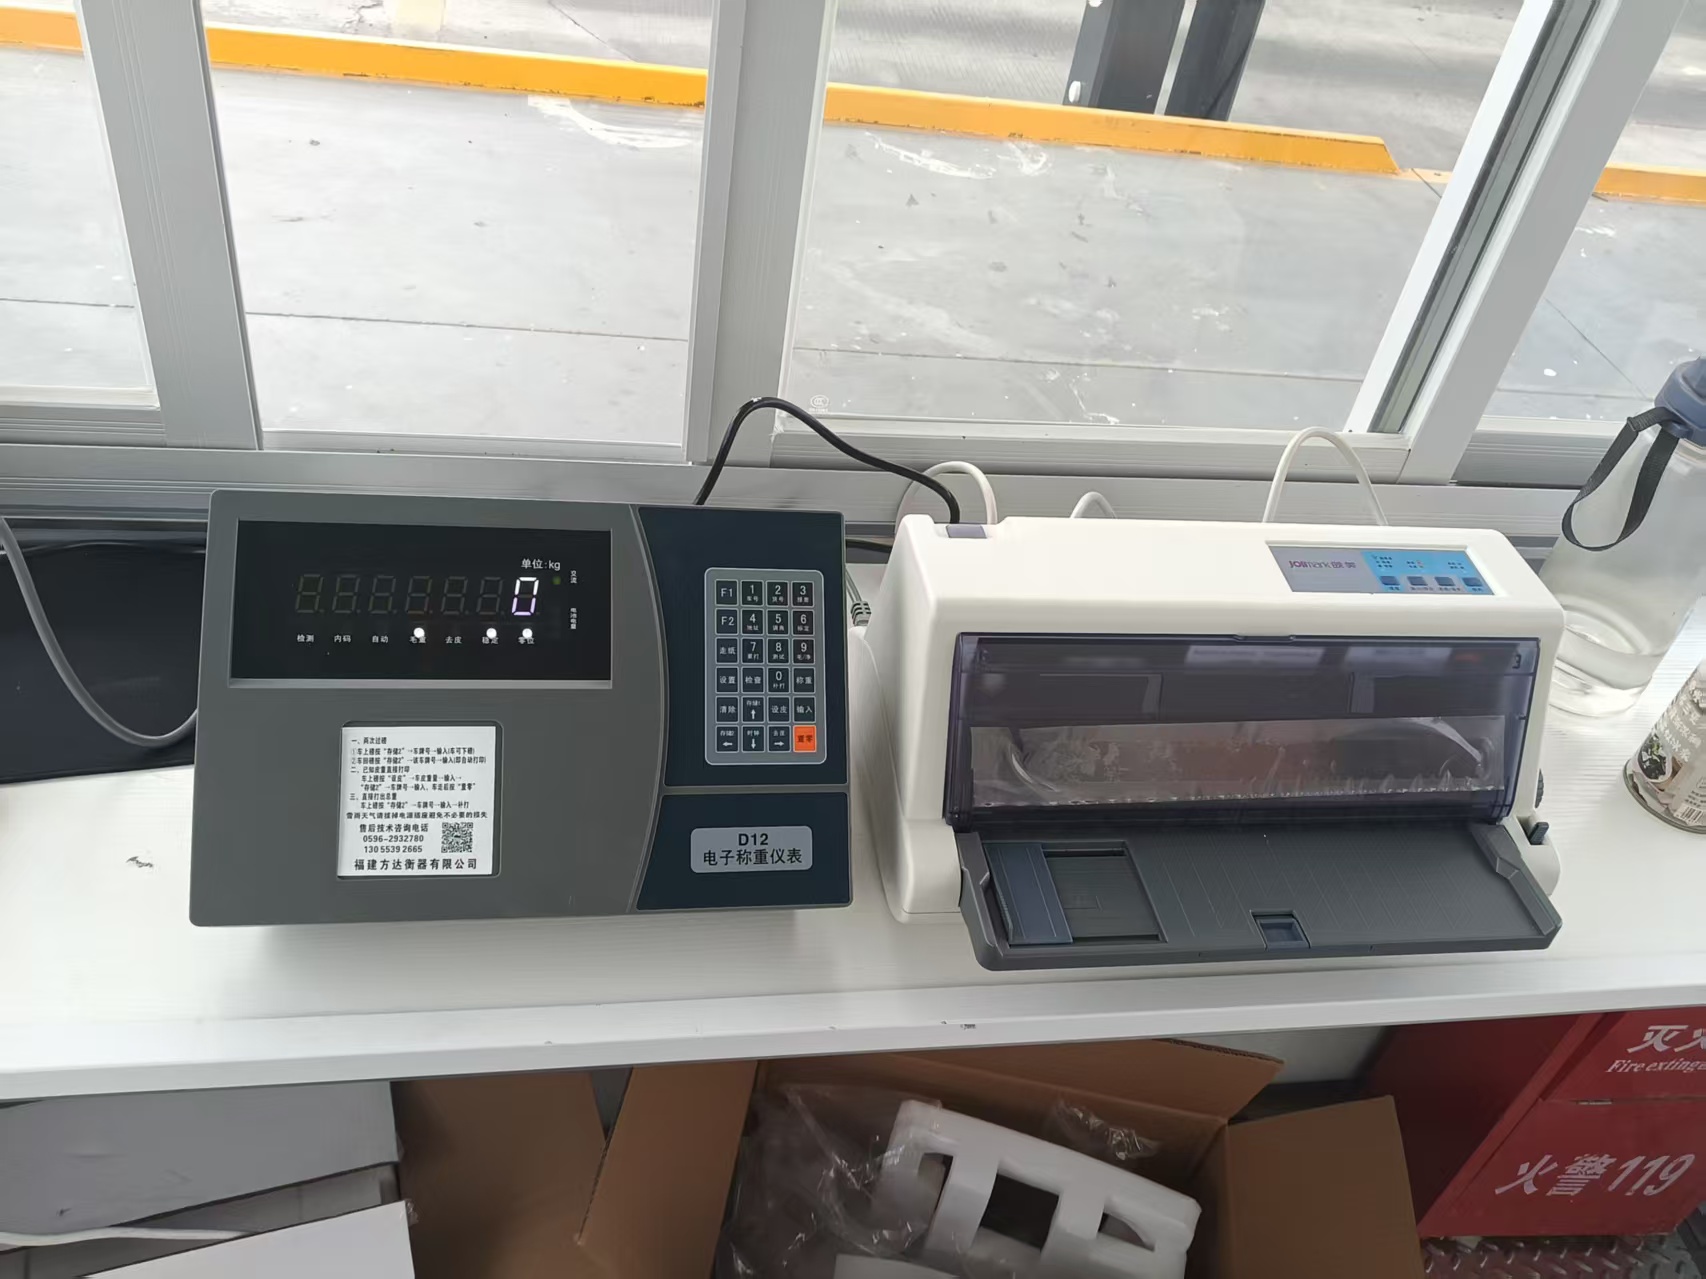
Step 1: Clear and inspect the platform before doing anything else
Start at the platform itself, before you touch the indicator or open any menu. In a real yard, that means mud tracked in from the last rain, gravel kicked up by tires, maybe a chunk of wood or a wrapper wedged where it shouldn’t be. Remove any debris, standing water, or material buildup from the platform surface and from around the load cells if they’re visible. Check for anything physically obstructing the platform or touching it that shouldn’t be — a stuck object, buildup against the edge of the platform, anything that could interfere with the platform moving freely under load. A surprising number of “calibration problems” turn out to be something physically preventing the platform from sitting or settling correctly, not an actual sensor issue.
Step 2: Check the zero reading with an empty platform
With nothing on the platform, the indicator should read exactly zero, or very close to it. If it’s reading a nonzero value with nothing on the platform, that’s your first sign something needs attention before you go any further — a drifting zero point usually points to either a load cell issue or a structural problem like debris or a foundation shift affecting how the platform rests. Don’t adjust anything yet. Just note what you see.
Step 3: Perform a zero adjustment if needed
Most indicators have a zero-adjustment function, usually accessed through a specific button sequence or a menu option — check your indicator’s manual for the exact process since this varies by manufacturer and model. Make this adjustment only with a completely empty, clean platform, since adjusting zero with anything on the platform will throw off every subsequent reading. It’s tempting to zero it out and move on, but if the zero keeps drifting, the adjustment may be masking something deeper.
Step 4: Apply a known test load
This is where certified test weights matter most. Ideally, you’re using certified calibration weights with a documented, traceable value. If you don’t have access to certified weights for a routine self-check, some sites use a vehicle with a recently verified weight from another certified scale as a rough reference point — this is not a substitute for proper certified calibration, but it can help you spot an obvious problem between official calibration visits. Place the test load in the center of the platform first. Set it down gently and evenly; dropping it or rolling it on unevenly can give you a reading that says more about how you placed it than about the scale itself.
Step 5: Compare the reading to the known value
If the platform reads the test load accurately within your scale’s expected tolerance, that’s a good sign for that specific load level. If it’s off by more than expected, note exactly how much and in which direction — reading high or low matters for diagnosing what’s actually wrong, and it’s useful information to give a technician even if you can’t fix the underlying issue yourself. Write it down before you forget. “It seemed a bit high” is far less useful than “it read 40 kg high at 10 tonnes.”
Step 6: Check accuracy at multiple points on the platform, not just the center
Move the test load to different positions — each corner if practical, not just dead center — and record the reading at each position. This step is where a lot of self-checks stop short, but it matters a lot, because a scale can read accurately with a centered load and still be inconsistent with off-center loading if one particular load cell isn’t performing correctly. If readings vary meaningfully depending on where the load sits on the platform, that’s a sign of a corner-specific problem rather than a general calibration drift, and it’s useful to know which corner before a technician even arrives. On an outdoor weighbridge, pay extra attention to the corners that see the most traffic — usually the entry side — because that’s where wear tends to show up first.
Step 7: Check repeatability
Weigh the same test load multiple times, removing and reapplying it between each reading. The reading should come back to essentially the same value each time. If it doesn’t — if you’re getting meaningfully different readings for the exact same load applied the same way — that points toward a load cell or connection issue rather than a simple calibration offset, and it’s a strong signal to get a technician out sooner rather than waiting for the next scheduled visit. This step is tedious. Do it anyway. Repeatability problems rarely fix themselves.
Step 8: Document everything
Record the date, what you tested, what the readings were, and any discrepancies you found. This matters for two reasons: it gives you a track record to spot gradual drift over time rather than just a single snapshot, and it gives whoever performs your official calibration useful information about what’s changed since the last visit, which can speed up their diagnosis considerably. A notebook kept in the scale house is enough. The point is consistency, not formality.
Step 9: Know when to stop and call a professional
If you’re seeing a zero drift that won’t correct, inconsistent readings that don’t repeat, or accuracy that’s noticeably off at certain platform positions but not others, that’s the point to bring in a certified technician rather than continuing to troubleshoot yourself. Beyond the legal requirement for trade-legal scales, some adjustments genuinely require calibrated reference equipment and technical training to do correctly, and an incorrect adjustment attempt can sometimes make a problem harder to diagnose rather than easier. At that point, continuing to poke at it usually costs more time than it saves.
Why this matters even between official calibrations
Official calibration typically happens on a scheduled interval, but real-world problems — a developing seal failure, a foundation issue, a load cell starting to drift — don’t wait for the calendar. A scale that’s been reading fine in dry weather can start drifting after a week of rain. A foundation that was solid last spring may have shifted after a freeze. A routine self-check between scheduled calibrations is genuinely useful for catching a developing problem months before it would otherwise be caught, which matters a lot if your scale is weighing anything tied to a financial transaction.
A quick note on who’s writing this
We’re Fujian Fangda Weighbridge, a truck scale and load cell manufacturer based in Fujian, China. We build weighbridges and the load cells that go inside them, and we get asked about this fairly often by customers who want to understand their equipment better between official service visits — not to replace the certified calibration process, but to catch problems earlier and have more informed conversations with their technician when something does need attention. That’s the spirit of this guide: not DIY calibration, but DIY awareness.
If you’re running into a problem during a self-check that these steps don’t explain, that’s worth a direct conversation with a technician rather than continuing to troubleshoot without the right reference equipment. A five-minute phone call can save a lot of guessing.
100-ton Weighbridge & Truck Scale
英文表单
NAME :*
TEL :*
E-MAIL*
Describe the requirements:*


